
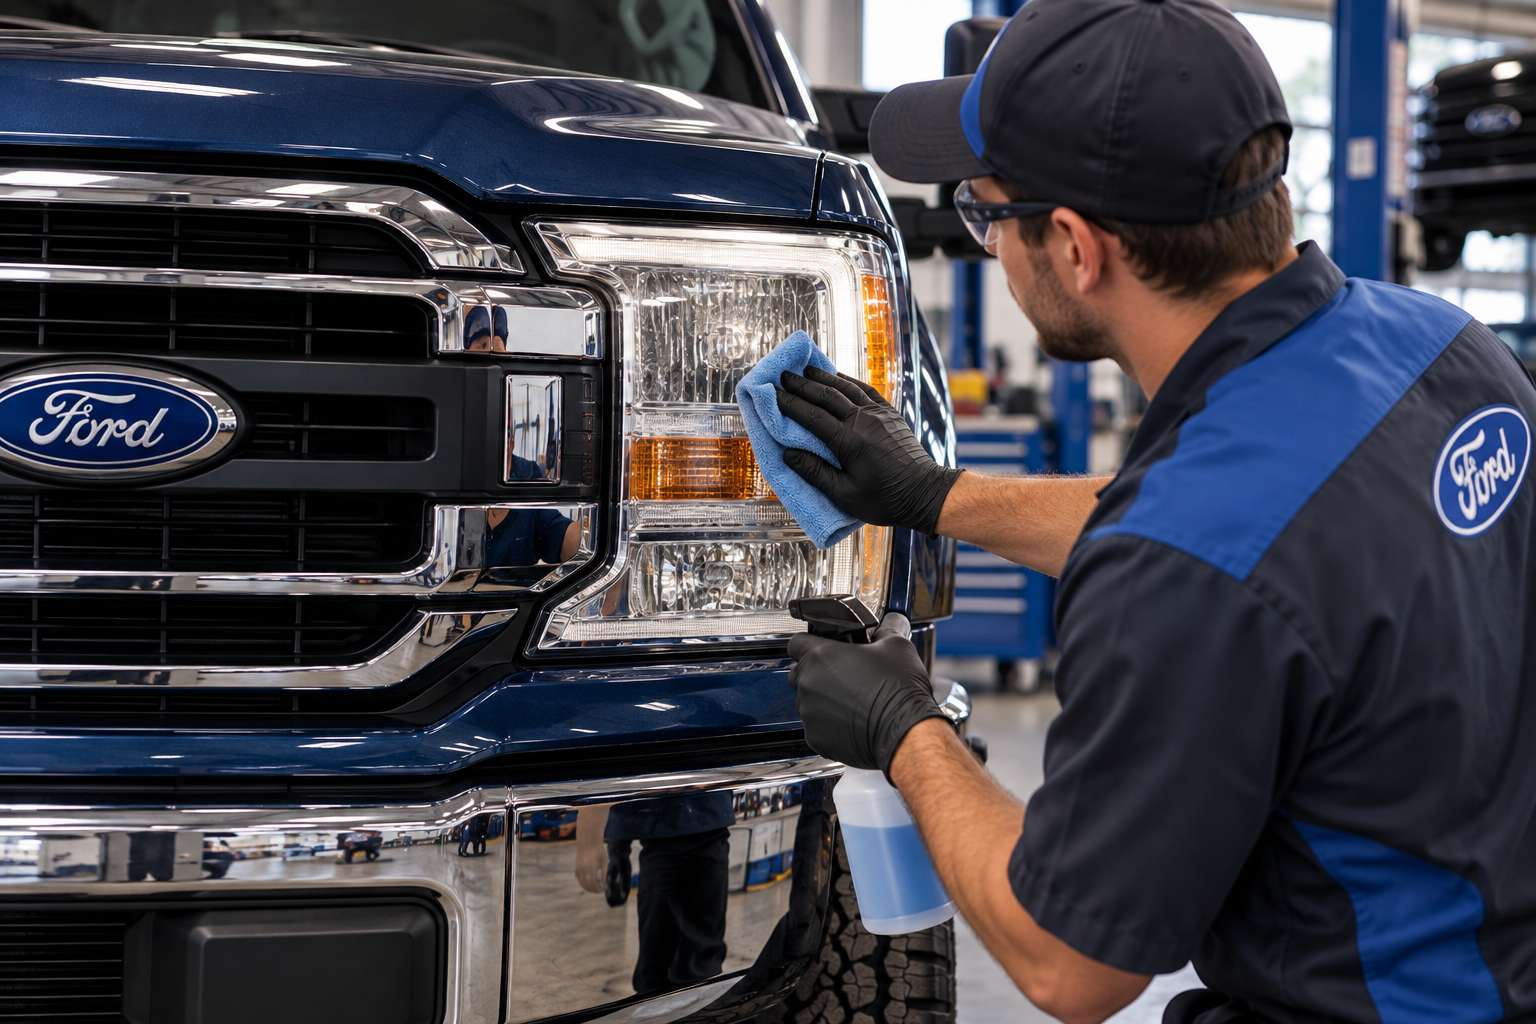
Foggy, cloudy, or yellowed headlights are one of the most common issues Ford owners face as their vehicles age. Cloudy headlights reduce your visibility significantly and make your Ford look older than it actually is. Here is your complete guide to how to clean cloudy headlights and when to consider professional headlight restoration near the Tri-Cities, WA at Speck Ford of Prosser.
Why Do Headlights Get Cloudy?
Most modern Ford headlight lenses are made from polycarbonate plastic rather than glass. The Yakima Valley receives over 300 days of sunshine per year making UV damage to headlight lenses especially common for Eastern Washington Ford owners. Here is why headlights get cloudy over time:
UV Oxidation
Most headlight lenses have a factory UV protective coating that degrades over time from constant sun exposure. Once that coating is gone, the lens surface begins to oxidize and turn yellow, cloudy, and hazy.
Road Debris and Scratching
Rocks, gravel, and sand scratch and pit your headlight lens surface over time. Yakima Valley drivers who regularly travel gravel roads around Prosser and Sunnyside are especially susceptible to road debris damage.
Why Clean Headlights Matter
Cloudy headlights can reduce your headlight output by up to 80 percent compared to new clear lenses. Shorter fall and winter days in the Tri-Cities mean more driving in the dark every single day. Kennewick, Richland, and Pasco commuters who drive home after work in the dark need every bit of headlight output available. Headlight restoration is a safety issue as much as it is a cosmetic one.
Steps for Cleaning Foggy Headlights
What You Will Need:
- Headlight restoration kit including sandpaper, polishing compound, and UV sealant
- Masking tape to protect surrounding paint
- Clean microfiber cloths and spray bottle with water
- Car wash soap, gloves, and eye protection
Step 1: Wash and Dry Your Headlights
Wash your headlight lenses thoroughly with car wash soap and water. Remove all surface dirt and debris before beginning the restoration process. Dry completely with a clean microfiber cloth before moving forward.
Step 2: Mask Off the Surrounding Paint
Apply masking tape carefully around the entire perimeter of each headlight lens. Cover all painted body panels and trim adjacent to the headlight housing. This protects your Ford's paint finish from accidental scratching during sanding and polishing.
Step 3: Wet Sand the Lens Surface
Wet sand the headlight lens starting with the coarsest sandpaper in your restoration kit. Keep the lens and sandpaper wet throughout the entire sanding process. Progress through finer grits until the lens surface appears uniformly hazy and scratch-free.
Step 4: Apply Polishing Compound
Work the polishing compound into the lens using firm circular motions across the entire surface. Continue polishing until the lens begins to clear and hazy sanding marks disappear. Wipe away compound residue with a clean microfiber cloth.
Step 5: Apply UV Sealant
This is the most important step that many DIY guides skip entirely. Apply the UV sealant included in your restoration kit to both headlight lenses. Without UV sealant, your headlights will begin to yellow and cloud again within a few months of restoration.
Step 6: Remove Masking Tape and Inspect
Carefully remove the masking tape after the UV sealant has fully dried. Your headlights should now appear noticeably clearer and brighter than before the restoration process.
Tips to Keep Headlights Clear
Here are our top tips for how to keep headlights from yellowing after restoration:
- Park in a garage or shaded area whenever possible to reduce UV exposure
- Apply a quality UV protectant to your headlight lenses every six months
- Wash your headlight lenses regularly during routine car washes
- Avoid harsh chemical cleaners that degrade the UV protective coating faster
- Apply a coat of car wax to your headlight lenses after washing for added protection
When to Replace Your Headlights
Sometimes headlight restoration is not enough and headlight replacement is the right solution. Consider headlight replacement in Prosser, WA when:
- The lens has deep cracks, chips, or physical damage that cannot be polished out
- Water or moisture is visible inside the headlight housing causing internal fogging
- Headlight restoration has been performed multiple times with diminishing results
- Your headlight output is still significantly reduced even after a thorough restoration
Our service team at Speck Ford of Prosser will honestly evaluate your headlights and recommend restoration or replacement based on your actual lens condition.
Professional Headlight Restoration vs DIY
Professional headlight restoration near the Tri-Cities, WA at Speck Ford offers several advantages over DIY kits:
- Professional-grade equipment produces better and longer-lasting results
- Our team applies a superior UV coating that lasts significantly longer than DIY kits
- Our certified technicians identify whether restoration or headlight replacement is the better option
- Professional restoration uses Genuine Ford OEM replacement parts if replacement is needed
Schedule Your Headlight Service at Speck Ford of Prosser
Ready to schedule your headlight restoration near the Tri-Cities, WA or headlight replacement in Prosser, WA? Here is how to book your appointment:
- Online: Visit our website and click "Schedule Service"
- By Phone: Call our service department directly
- Walk-In: Stop by during service hours for same-day headlight inspection
Do not drive through fall and winter Yakima Valley nights with cloudy headlights. Schedule your headlight restoration at Speck Ford of Prosser today and see the road more clearly on every drive.
Schedule Service